
DTF Shirt Print
Custom shirts are in high demand today. From personal gifts to business uniforms, people want unique designs. With DTF Shirt Print, anyone can create professional-quality shirts without high costs or complex steps. This method is becoming a favorite for small shops, hobbyists, and online brands.
What Is DTF Printing?
DTF stands for “Direct to Film.” It is a new technique in custom apparel. The process is simple. A design is printed on a PET film using special inks. Then, it is transferred to fabric with heat and pressure. Unlike older methods, DTF does not need pre-treatment on garments. This makes it flexible for cotton, polyester, blends, and dark fabrics.
Why Use DTF Shirt Print?
There are several reasons why this method is popular:
-
High Detail: Captures sharp and colorful graphics.
-
Durability: Designs last through many washes.
-
Flexibility: Works on different fabrics and colors.
-
Low Cost: No need for expensive screen setups.
-
Fast Results: Perfect for quick orders and small runs.
Whether for personal use or small business, the benefits are clear.
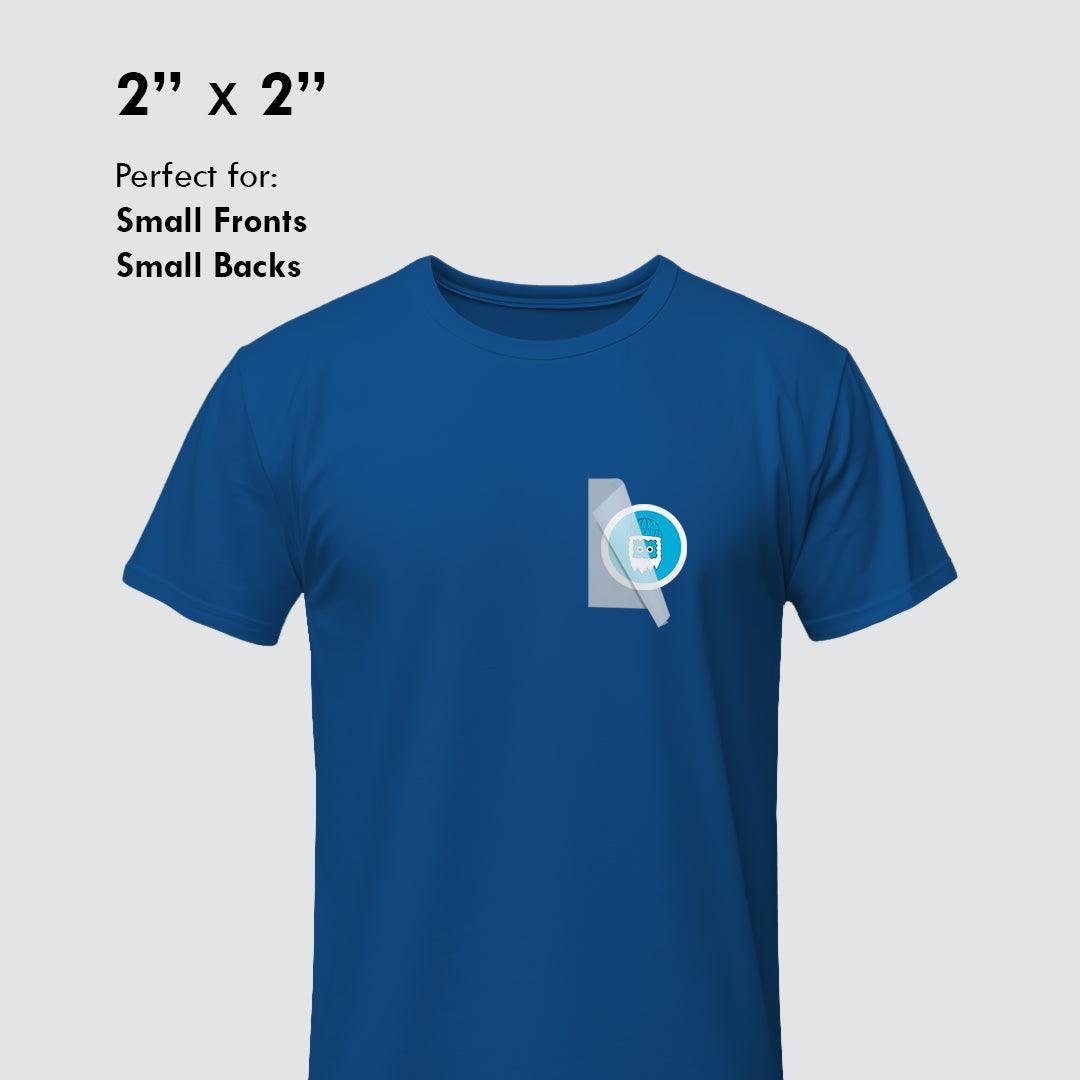
Materials You Need
To start with DTF Shirt Print, gather the right supplies:
-
DTF printer or converted inkjet printer
-
DTF inks
-
PET transfer film
-
Hot-melt adhesive powder
-
Heat press machine
-
Design software like Photoshop or Illustrator
Using high-quality materials ensures better results and fewer issues.
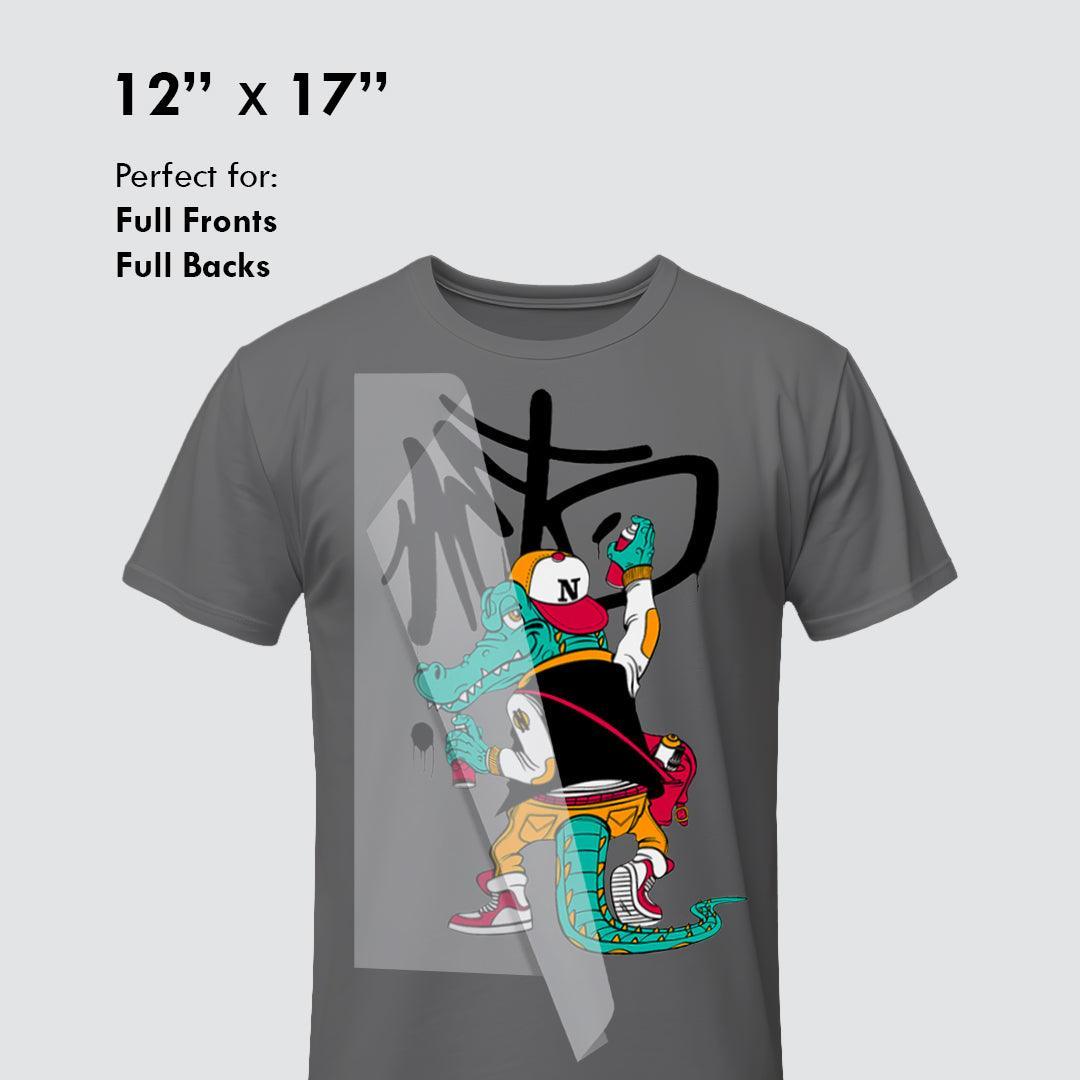
Step-By-Step Guide
1. Create Your Design
Make or edit your design in software. Bright colors and high resolution give better results. Always mirror your design before printing.
2. Print On Film
Place the PET film into the printer. Print the design with DTF inks. The design should look clear and colorful.
3. Apply Adhesive Powder
While the ink is still wet, sprinkle adhesive powder over the design. Shake off extra powder. This step helps the design stick to the shirt later.
4. Cure The Powder
Heat the film at a low temperature to melt the powder. This creates a strong base for transfer.
5. Transfer To Shirt
Put the film face down on the shirt. Press it with the heat press. Standard settings are 160–170°C for about 15–20 seconds. After pressing, peel the film off slowly.
6. Final Touch
Let the shirt cool before handling. Do not wash it right away. Waiting at least 24 hours gives the best results.
Tips For Best Results
-
Use quality films and inks for better durability.
-
Keep pressure and heat consistent.
-
Test small designs before large projects.
-
Store films and powders in a dry, cool place.
-
Always mirror your artwork before printing.
Common Mistakes To Avoid
-
Forgetting to mirror the design.
-
Using low-grade adhesive powder.
-
Overheating or underheating the powder.
-
Pressing on an uneven surface.
-
Washing the shirt too soon after printing.
Avoiding these mistakes will save time and materials.
Who Can Use DTF Shirt Print?
This method is for everyone. Small businesses use it to print shirts for customers. Hobbyists use it to make gifts for friends and family. Online stores rely on it for fast and unique designs. Even individuals who want personal style can use this method.
DTF vs Other Printing Methods
Compared to screen printing, DTF is faster and less expensive for small runs. Compared to sublimation, DTF works on more fabrics and colors. It gives bright colors and strong durability. That is why is one of the best choices today.
Final Thoughts
The demand for unique apparel continues to rise. With anyone can create stylish and long-lasting shirts easily. The method is affordable, simple, and versatile. It is perfect for both beginners and professionals.
Start with a few designs. Practice the process. Soon you will master it and be able to produce high-quality custom shirts at home or for your business.
DTF is the future of shirt printing. With the right tools and patience, you can join this trend and bring your creative ideas to life.
Let customers speak for us
The quality is excellent, the customer service is amazing, and the entire staff at this location is fantastic. They truly care and want your business.
Paula Horak

DTF Gang Sheets
We used the prints to make custom table runners for our school PTO and bags for our Winter Fayre! They all turned out great!
BIS Houston PTO
DTF Gang Sheets


easy to use. Straight forward and quick. I used to use another DTF printer but your quality and turn around has made me change to you exclusively.
Anonymous

DTF Gang Sheet Builder